Experiment Four: Image-Audio Mashup (2-bit Technique)
The Principle
Each byte = one pixel = one audio sample = 8 bits = (0 <= x <= 255)
If we modify each byte's low two bits (i.e. 111111XX) it is possible to paint a four colour image onto an audio stream.
Each Unsigned 8-bit PCM sample will only be munged by up to 4/256 ~= 1.6%. More of the original data will remain intact than with the layering technique. Most of the colours are sacrificed because it is easier to look at a messed-up picture than listen to noisy audio. Four colours is plenty.
Paint Four Colours Onto Audio
- Open an audio file in Audacity and make it the desired size:
- Mix the audio file down to 1-channel (Mono).
- Resample the project with (# of samples = IMAGE_X * IMAGE_Y) of your desired image
- Export As Unsigned 8-Bit PCM Raw (header-less)
- Open an image file in GIMP and Decompose it manually:
- If using BMP, ensure the width is a multiple of 4. Otherwise padding will be added.
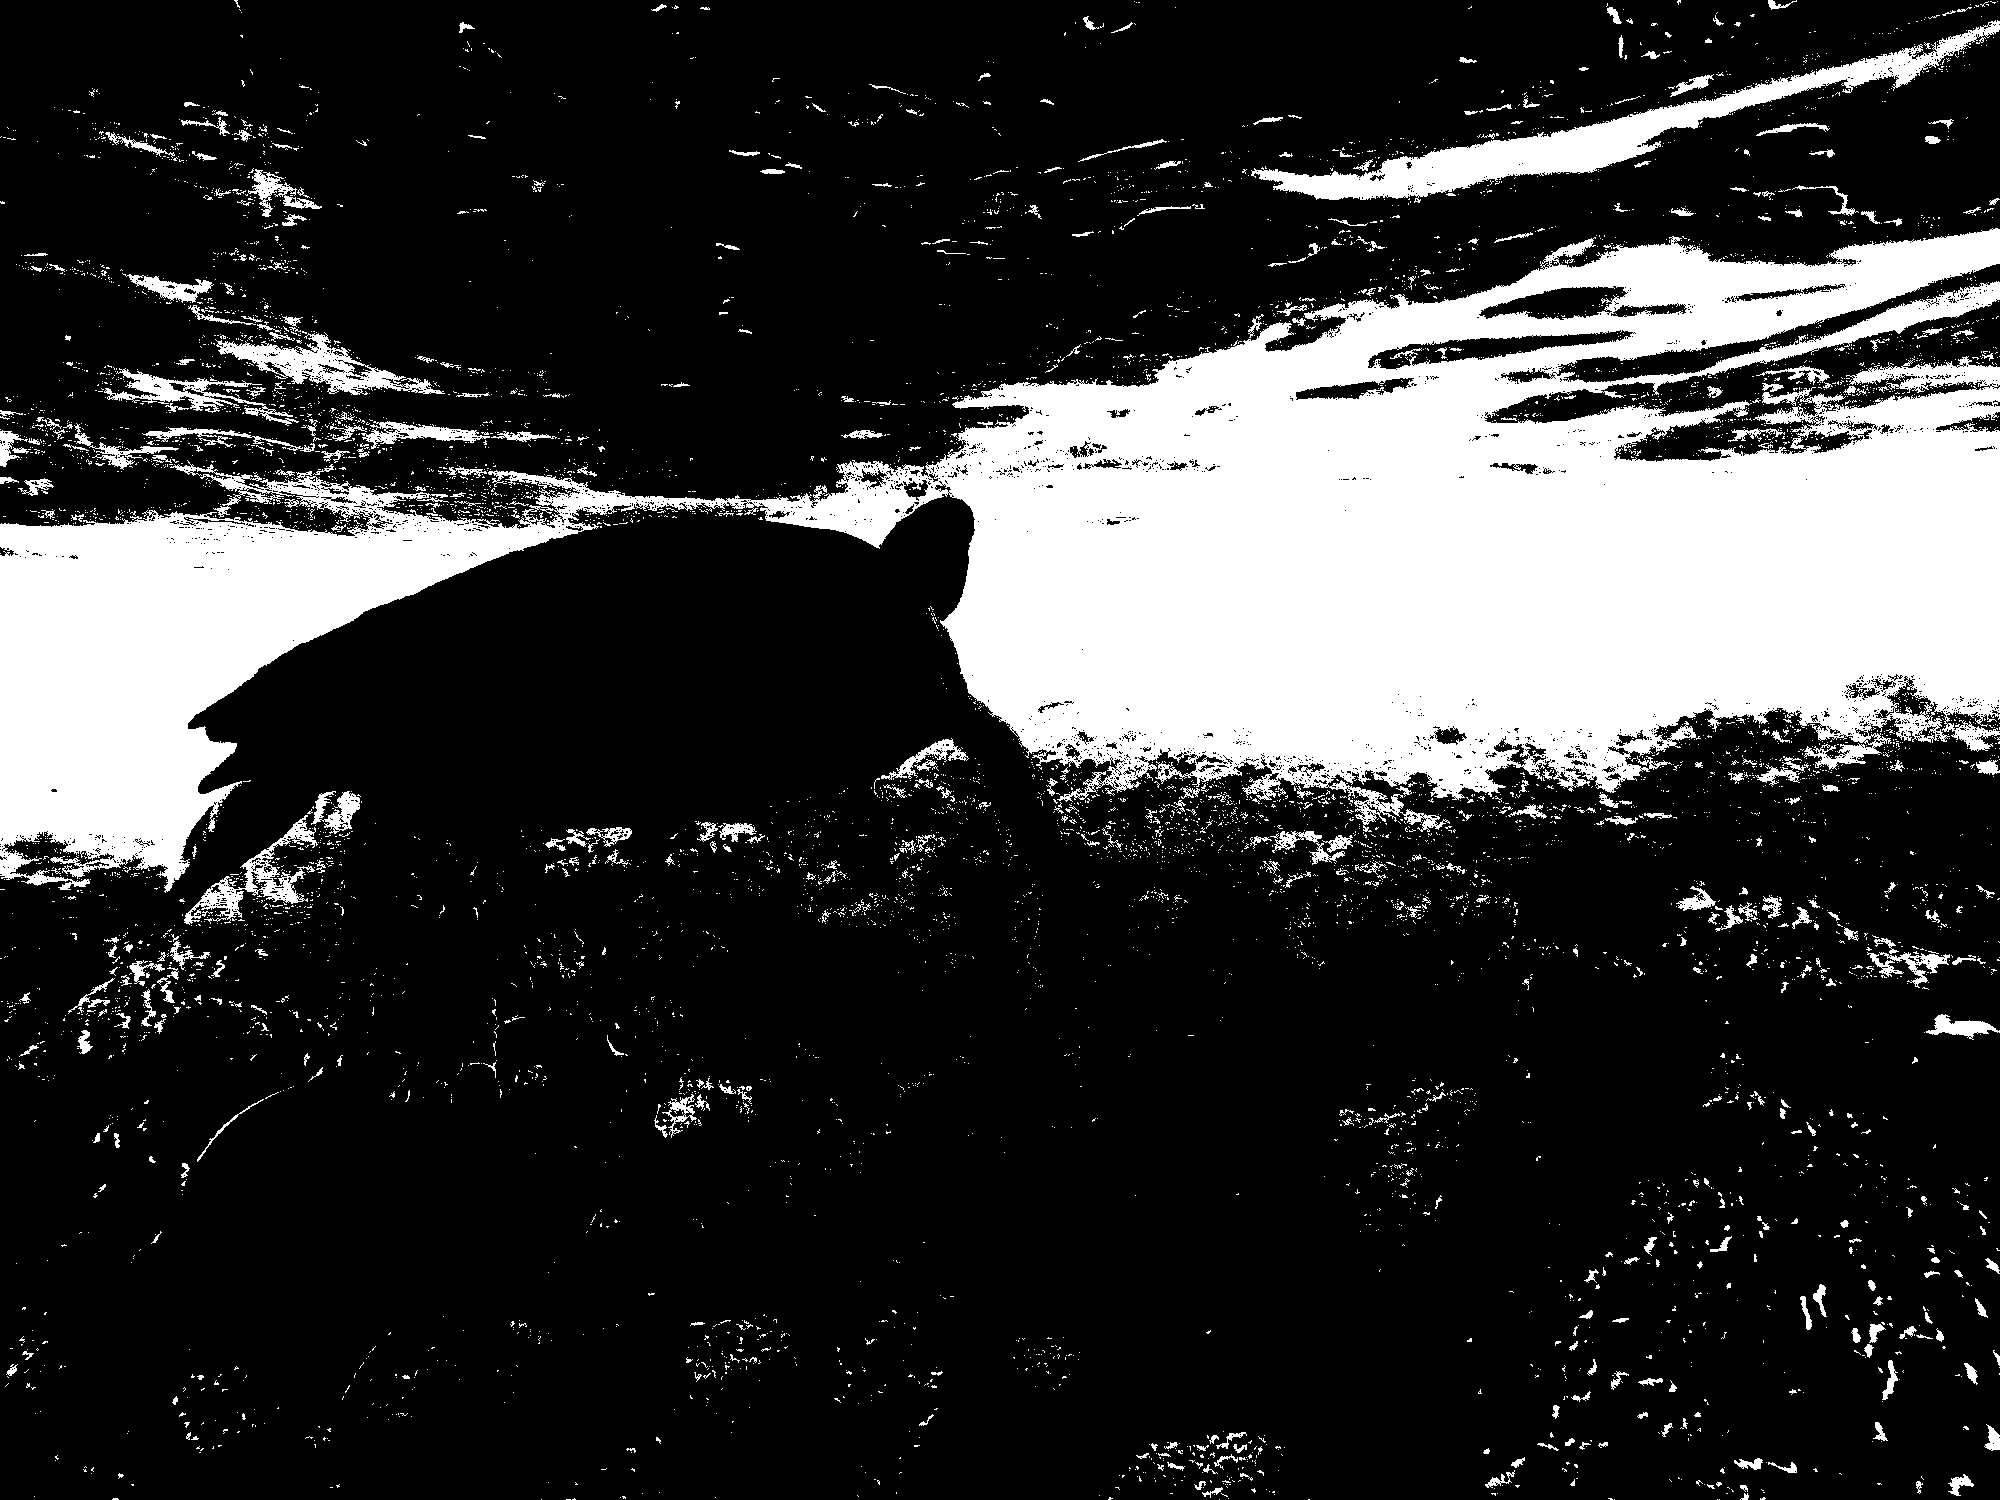
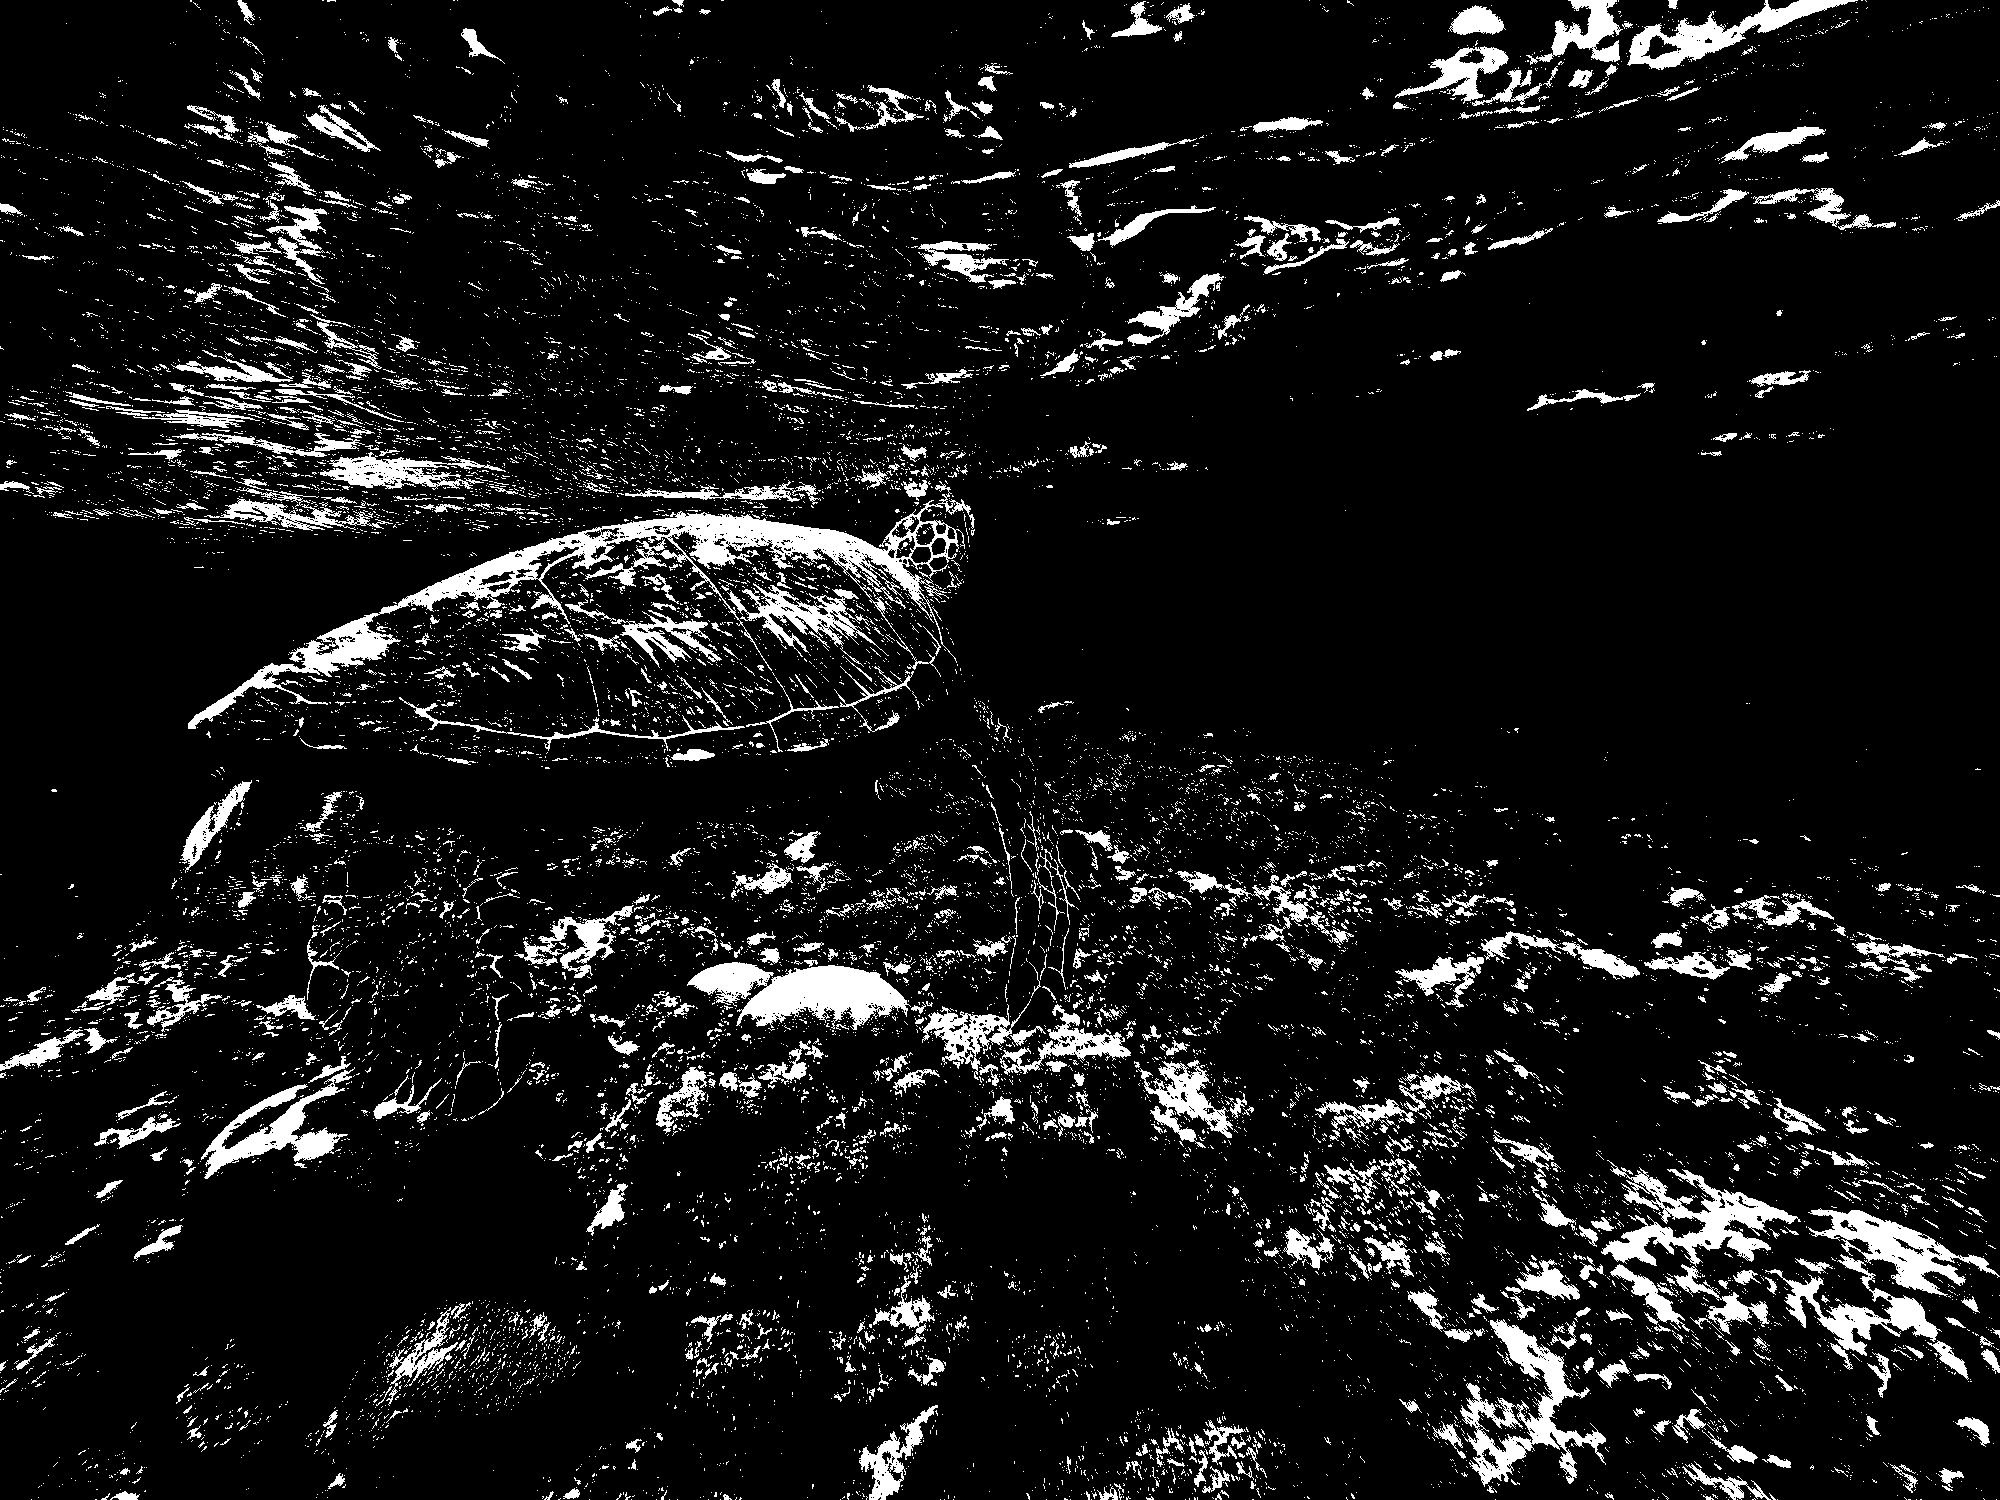
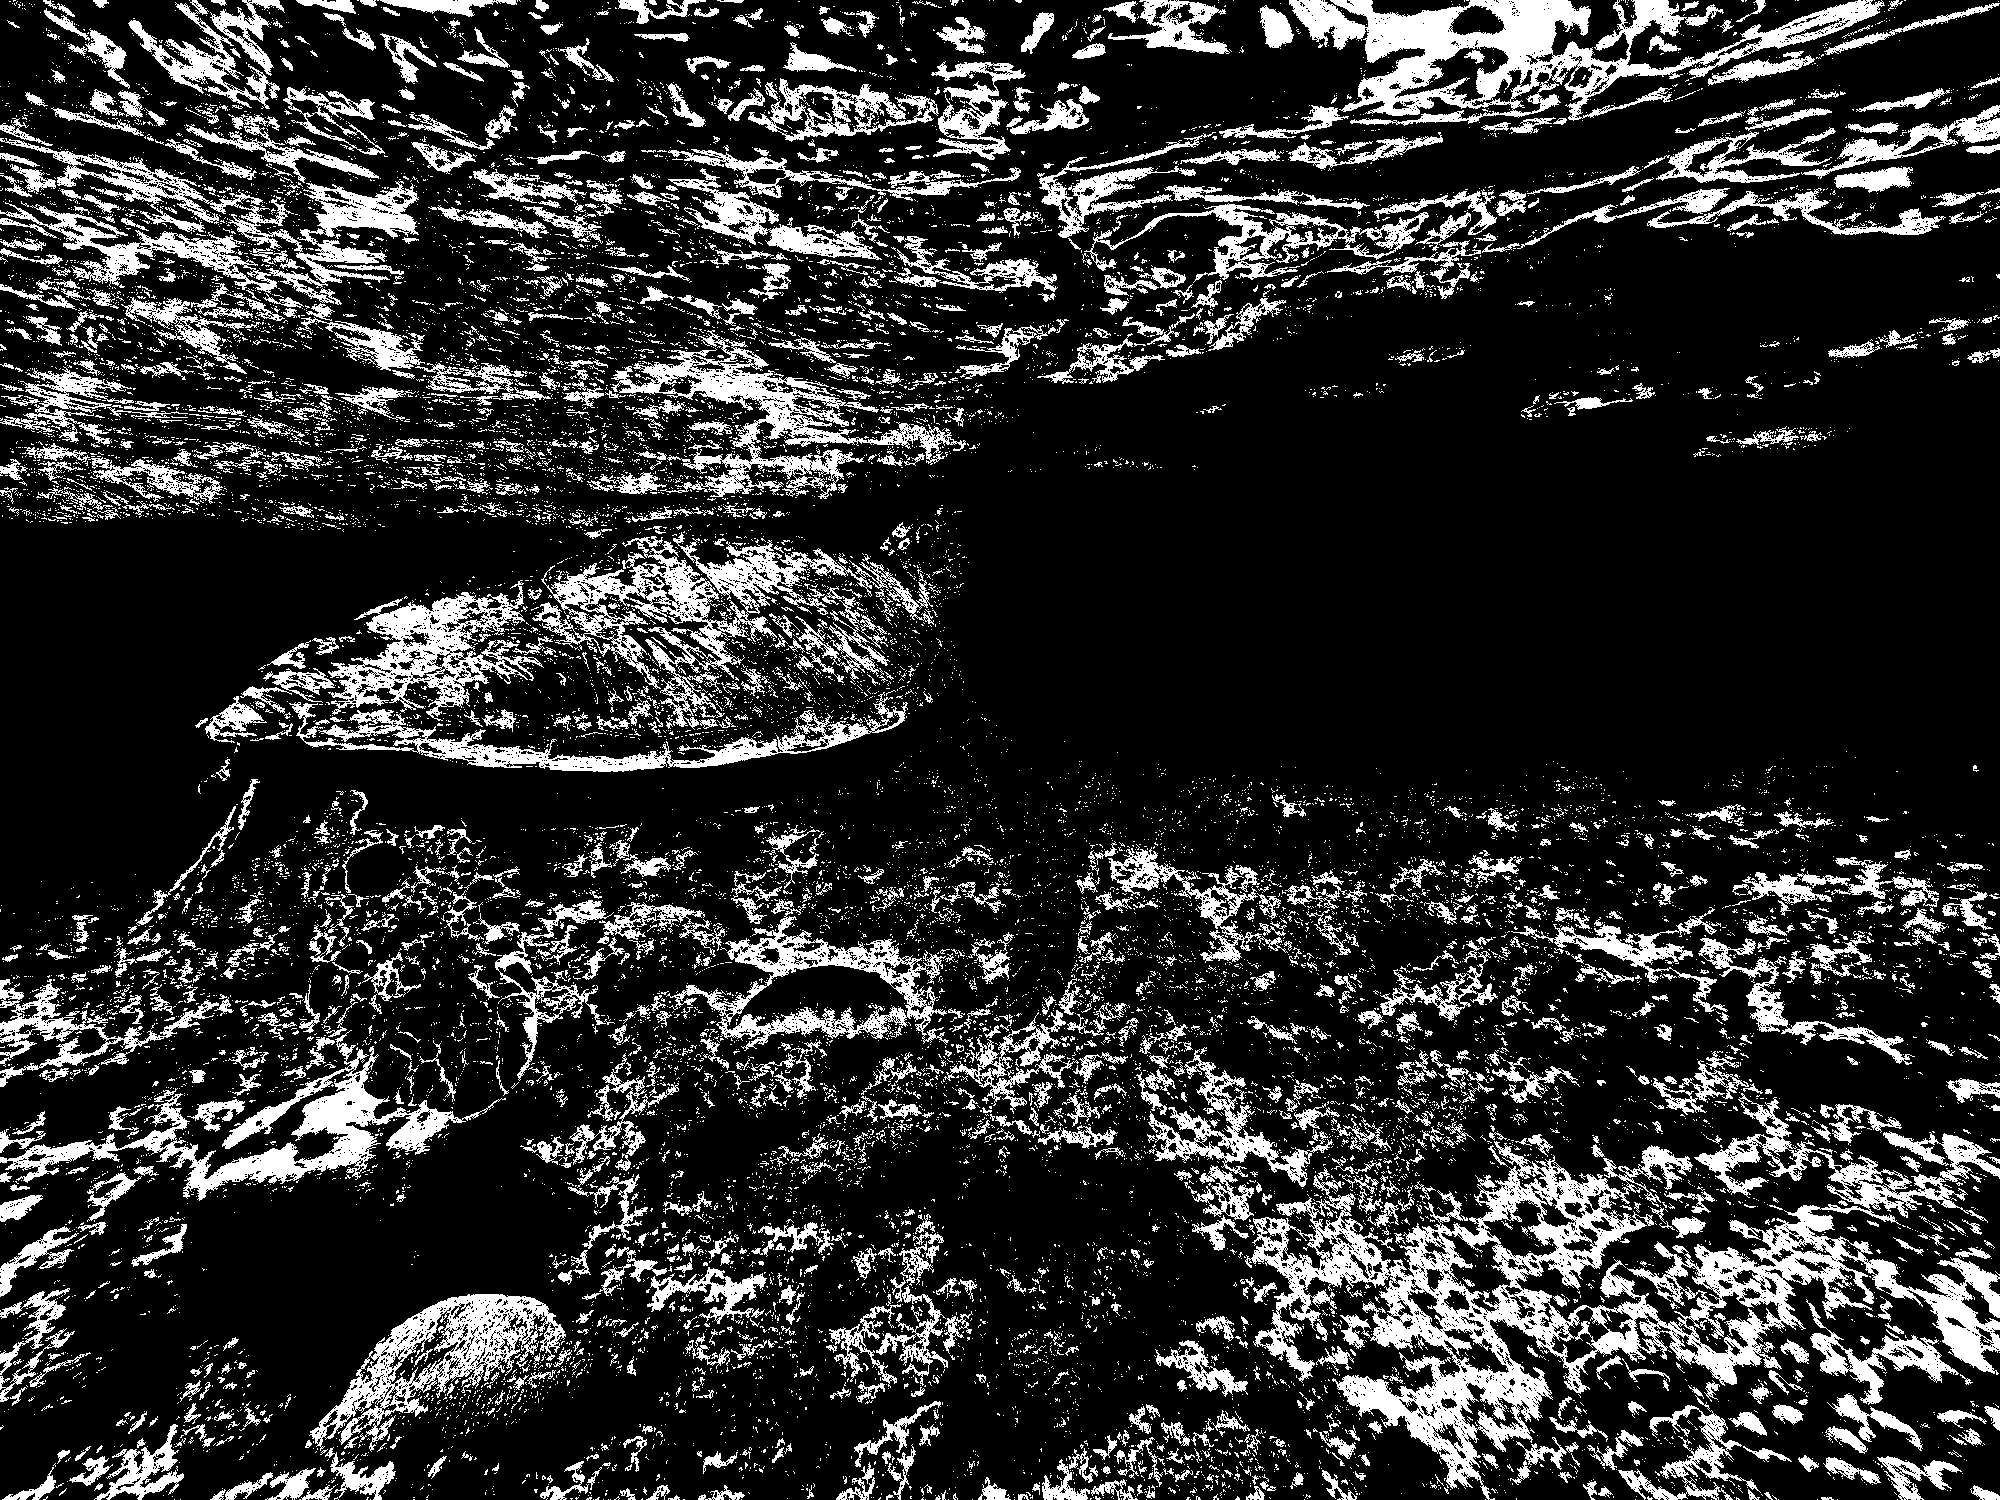
- Make the image 4-colour. In the main window menu select Image - Mode - Indexed. In the Indexed Colour Conversion window choose Generate optimum palette with Maximum number of colours: 4.
- Use the Select By Colour tool with high Threshold to Select, Copy, and Paste the three of the four colours into their own separate files. *
- Maximize Contrast so that each is just white-on-black.
- Each colour-file should be the same size as each other, and without the header the same size as the raw audio export from ealier.
- Across these files each image coordinate (x,y) should match (On or Off) one of the four colours.
- Export each colour-file as its own 8bpp bitmap, with only white or black pixels. Or if you are feeling brave, a 1bpp pixmap with the necessary modifications.
- * Only three mask files are needed; every unmatched pixel is the fourth colour.
file1
file2
file3
- Write a program to loop over the audio file and paint the image onto it:
- Open the audio file for reading.
- Open the three colour-files for reading. Skip the BMP header in each.
- Open a new file for writing.
- For each byte of audio data, check each byte of colour-files. If one of the colour pixels is set (white, 0xFF), then set the low two bits of the audio byte to a certain value (i.e. 00, 01, 10, 11). If none of the three are set use the fourth value.
- Write the new value.
- Close the file.
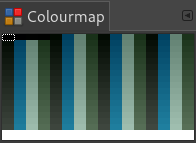
- Write another program, this time to create a colour map:
- The "painting" we performed earlier has ensured that every fourth value matches the same colour.
- Write a 256 colour map in sets of 4 colours.
- Each colour will have 64 shades.
- Strip the BMP and DIB header from the beginning of one of the three colour mask files.
- Replace the colour map with the one you made. (raw map file)
- Append the merged/painted data onto the new header, and save with a ".bmp" extension.
- Play the new file
In this way, each byte/pixel/sample represents a substantial portion of the original audio and one of four colours. The shading used in the colour map will be visible in the image as audio waves from left-to-right.
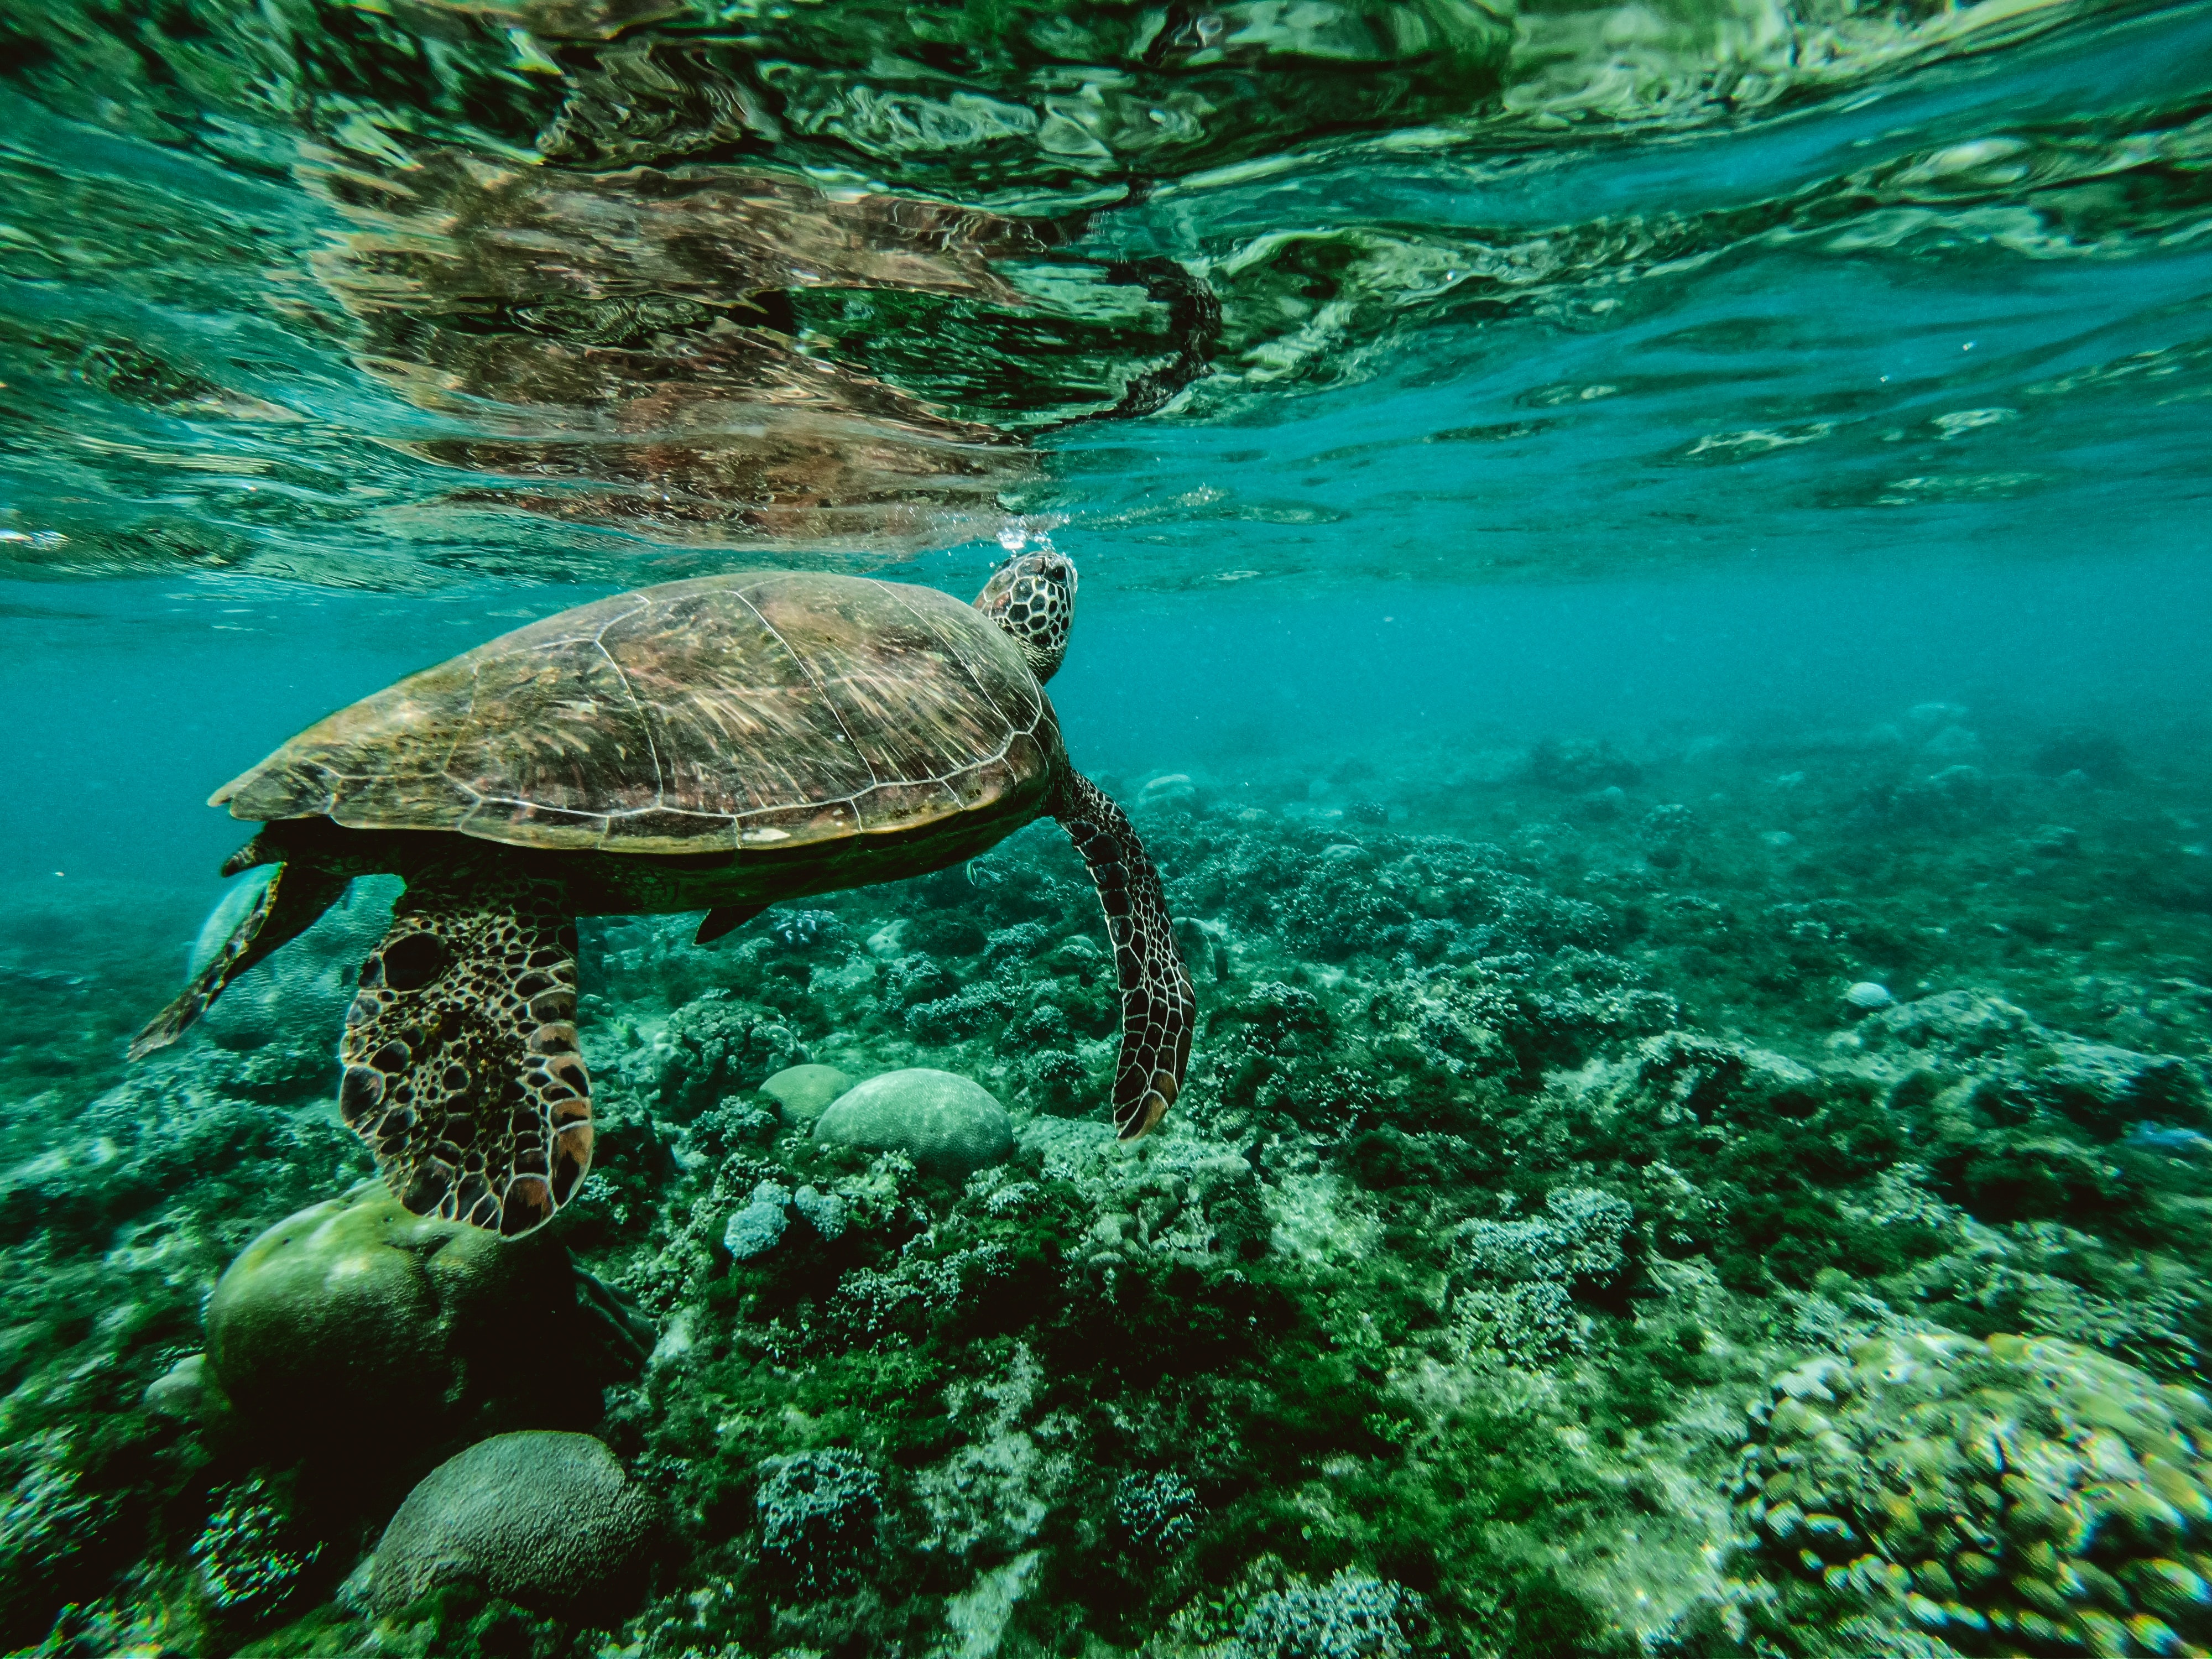
And here is another example of a 2-bit image/audio mashup.
And a third example which showcases my amazing drawing talents.
And another, and another!
Here is an example of stenography (i.e. hiding data)